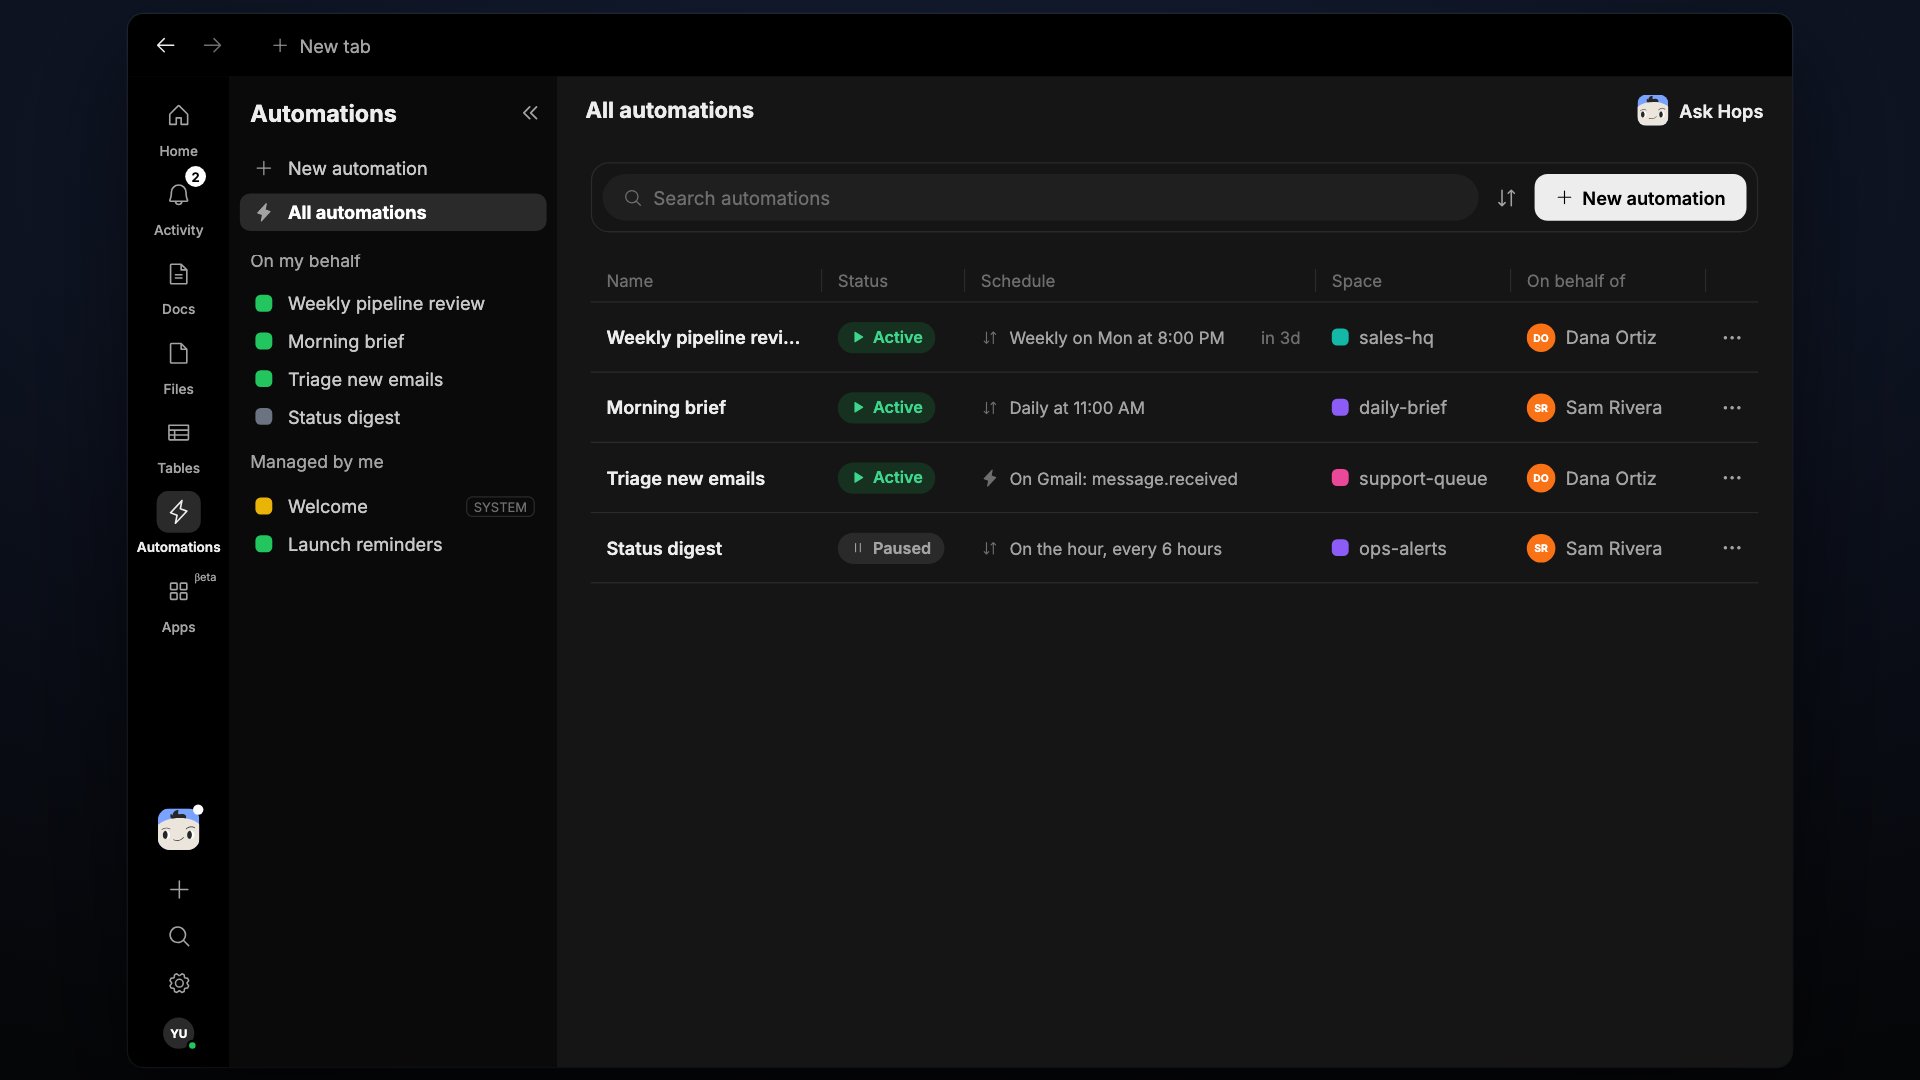
The Automations list
The list has a search box, a sort button, and a New automation button. Each row shows:- Name
- Status — Active or Paused
- Schedule — for example weekly, or the event that triggers it
- Space — where it runs
- On behalf of — whose access it runs with
Create an automation
1
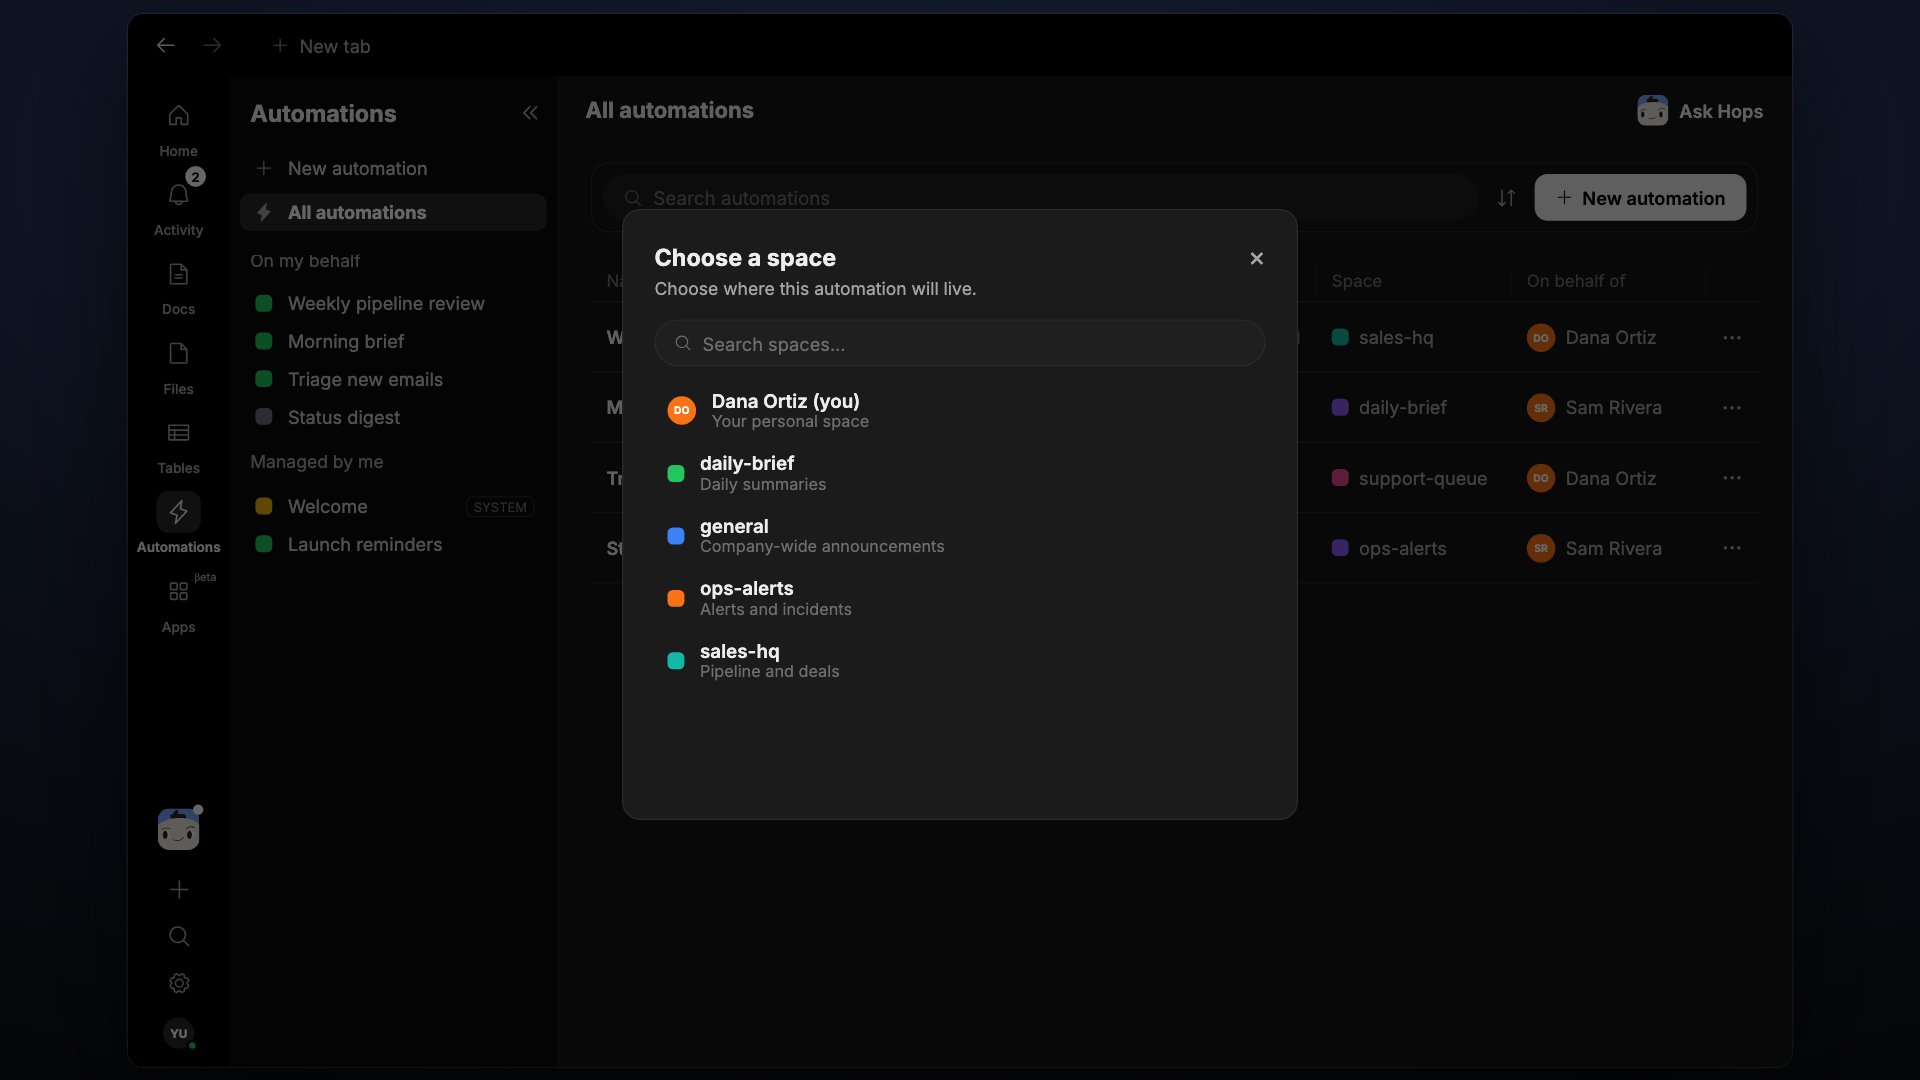
Click New automation
On the Automations page, click New automation. Describe what it should do under What should your automation do?
2
Review the draft
Hops opens a draft with Runs and Configuration tabs. A Draft banner with a Publish button stays at the top until you publish.
3
Set when it starts
Under Start automation, pick a trigger. For a schedule, choose Weekly, the days, and the time. Set the Timezone.
4
Choose what it can access
Under Access during runs, pick the Connections and Spaces the automation can use.
5
Write the instructions
Tell Hops exactly what to do each run, the same way you’d write it in a chat. Click Improve with Hops to have Hops tighten the wording.
6
Publish
Click Publish. The automation becomes Active and its Runs tab fills in as it executes, with links back to each run’s chat session.
Managing automations
Click an automation to open its Runs history and Configuration. Pause it, or change its trigger, access, or instructions from there.